The model accepts 1–3 input images. The first is the primary image, and up to 2 later images are optional references. Give each reference a clear role in your editing prompt and preserve their array order.


Qwen Image Edit LoRA
Image-to-ImageReference Editing
Qwen Image Edit LoRA turns an existing image and a clear editing instruction into an edited result. Start with a primary photo, then add optional visual references to explain the appearance you want. The primary image supplies the composition and output dimensions, while the references help you describe details without rebuilding the entire scene from text. Use it for focused product, portrait, material, and design revisions, then review the result against your original brief.
Input Images
1–3 images
APIXO Price
From 48 Credits / image
Output Size
Follows primary image
Delivery
Async polling
Create with Qwen Image Edit LoRA
Published controls
A focused image editing workflow
Work with an editing prompt, ordered input images, and an optional seed.
1–3
Input Images
Up to 2
Optional References
Primary image
Composition
Image-to-Image
Workflow
Editing ideas
Make useful revisions from images you already have
Product finishes and campaign variants
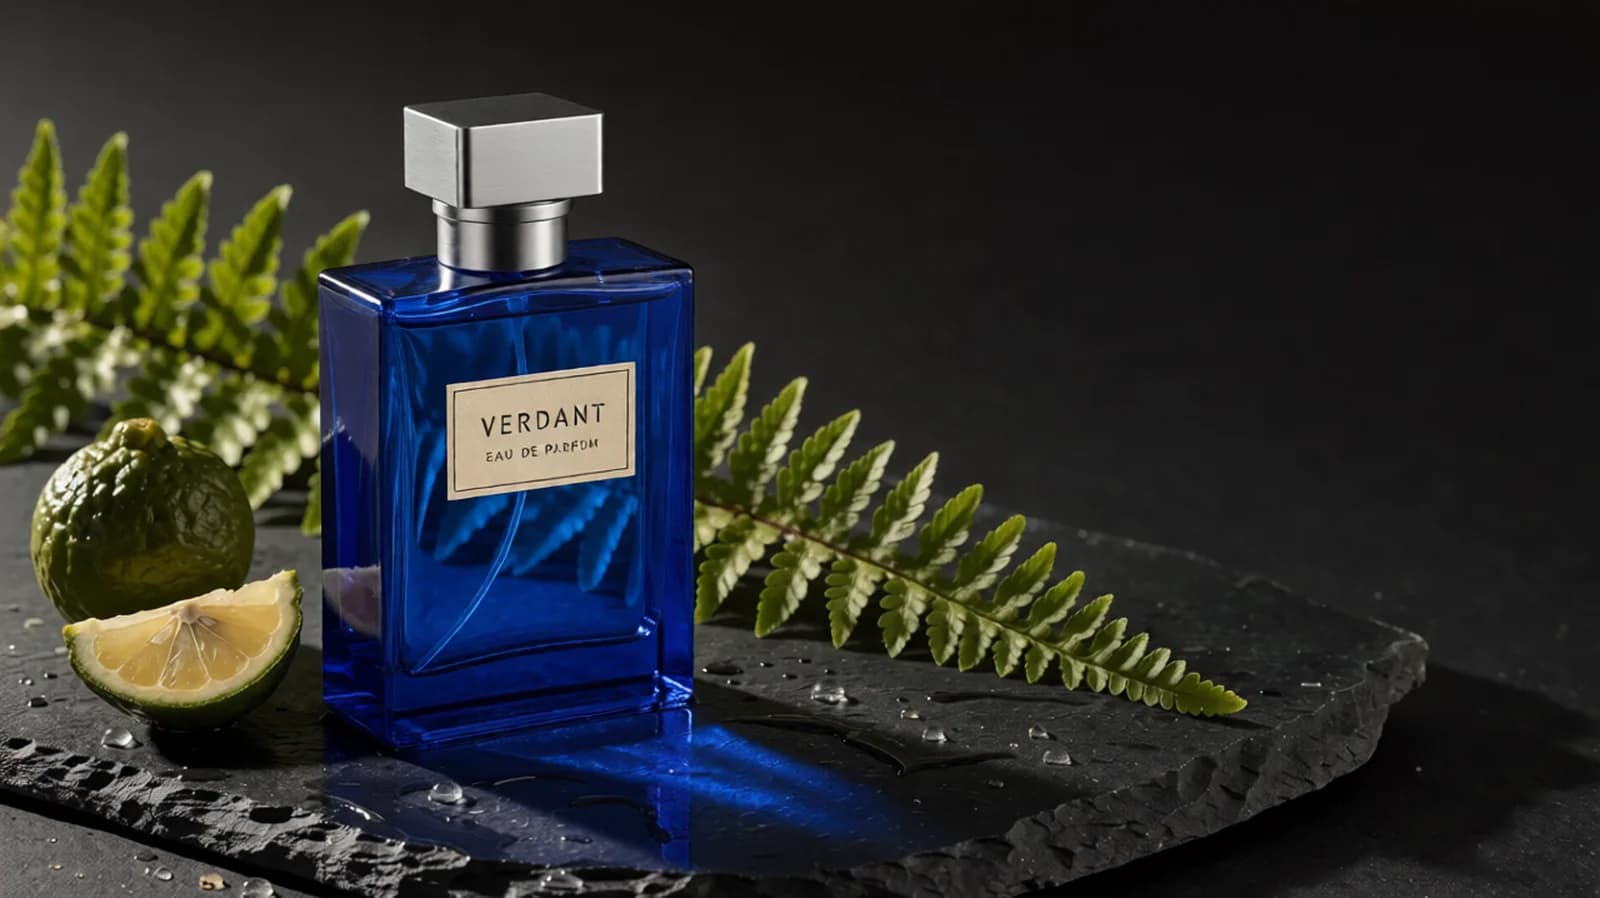
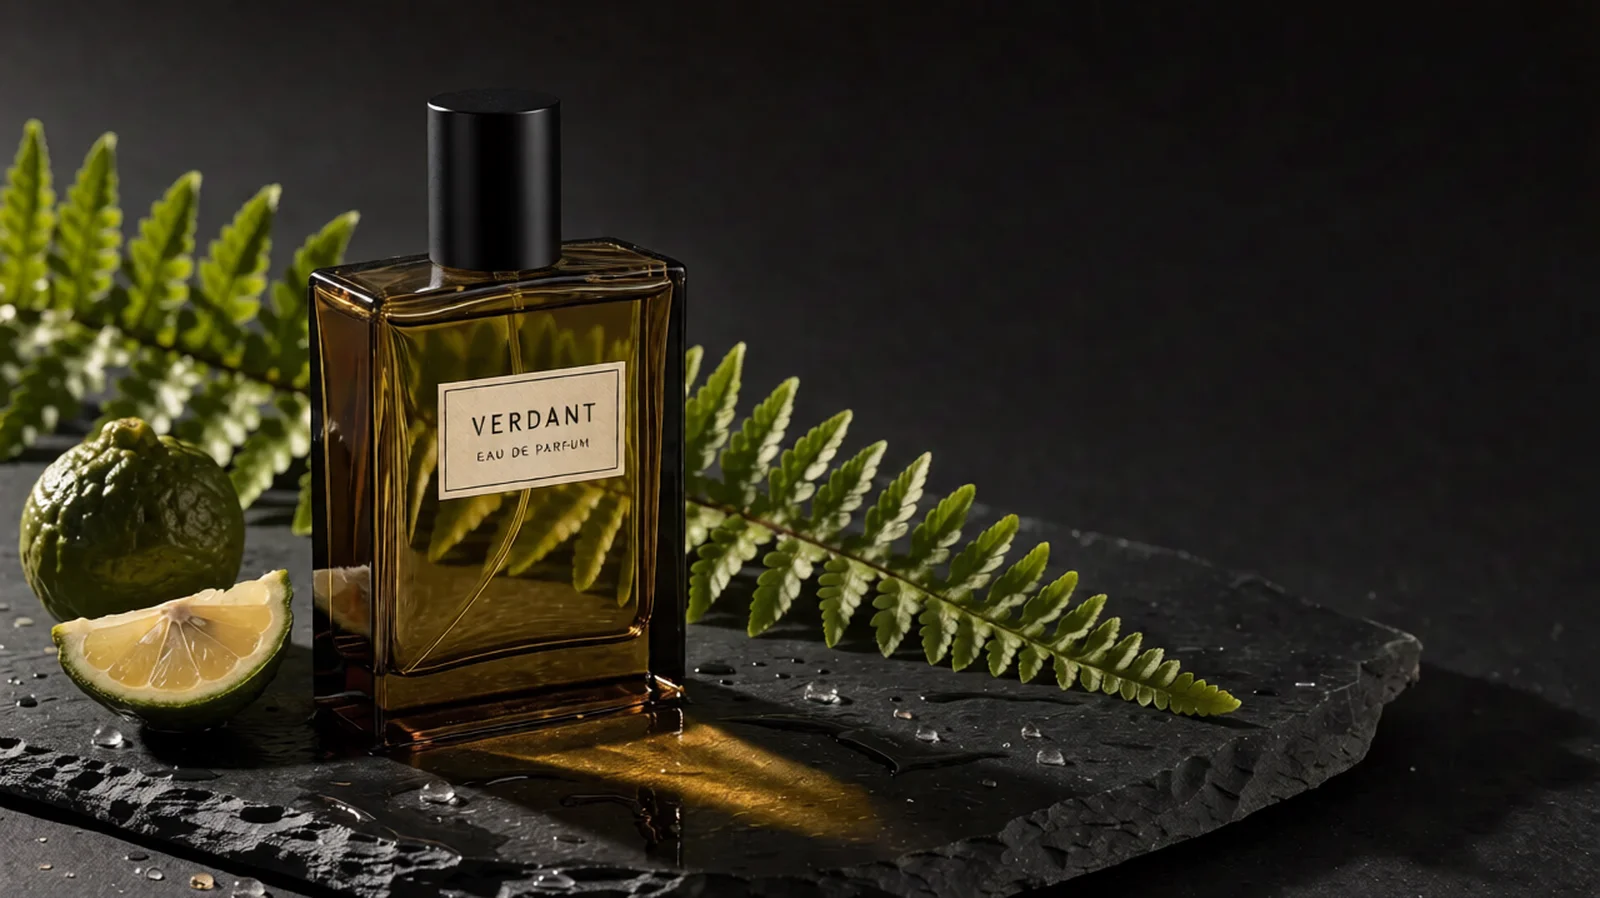
Start with a product photograph that shows the shape, angle, and packaging clearly. Use a reference to communicate a different fabric, surface finish, or color direction, and specify exactly where that change belongs. For a chair, for example, a fabric swatch can guide the upholstery while the primary photo keeps the room and camera position. Ask to preserve recognizable structural details such as legs, handles, seams, and closures. Review the edited result for altered proportions, distorted labels, or reflections that no longer match the lighting. A visually appealing variation is a creative draft; compare it with the real product specification before using it in a product listing.
Portrait and character revisions
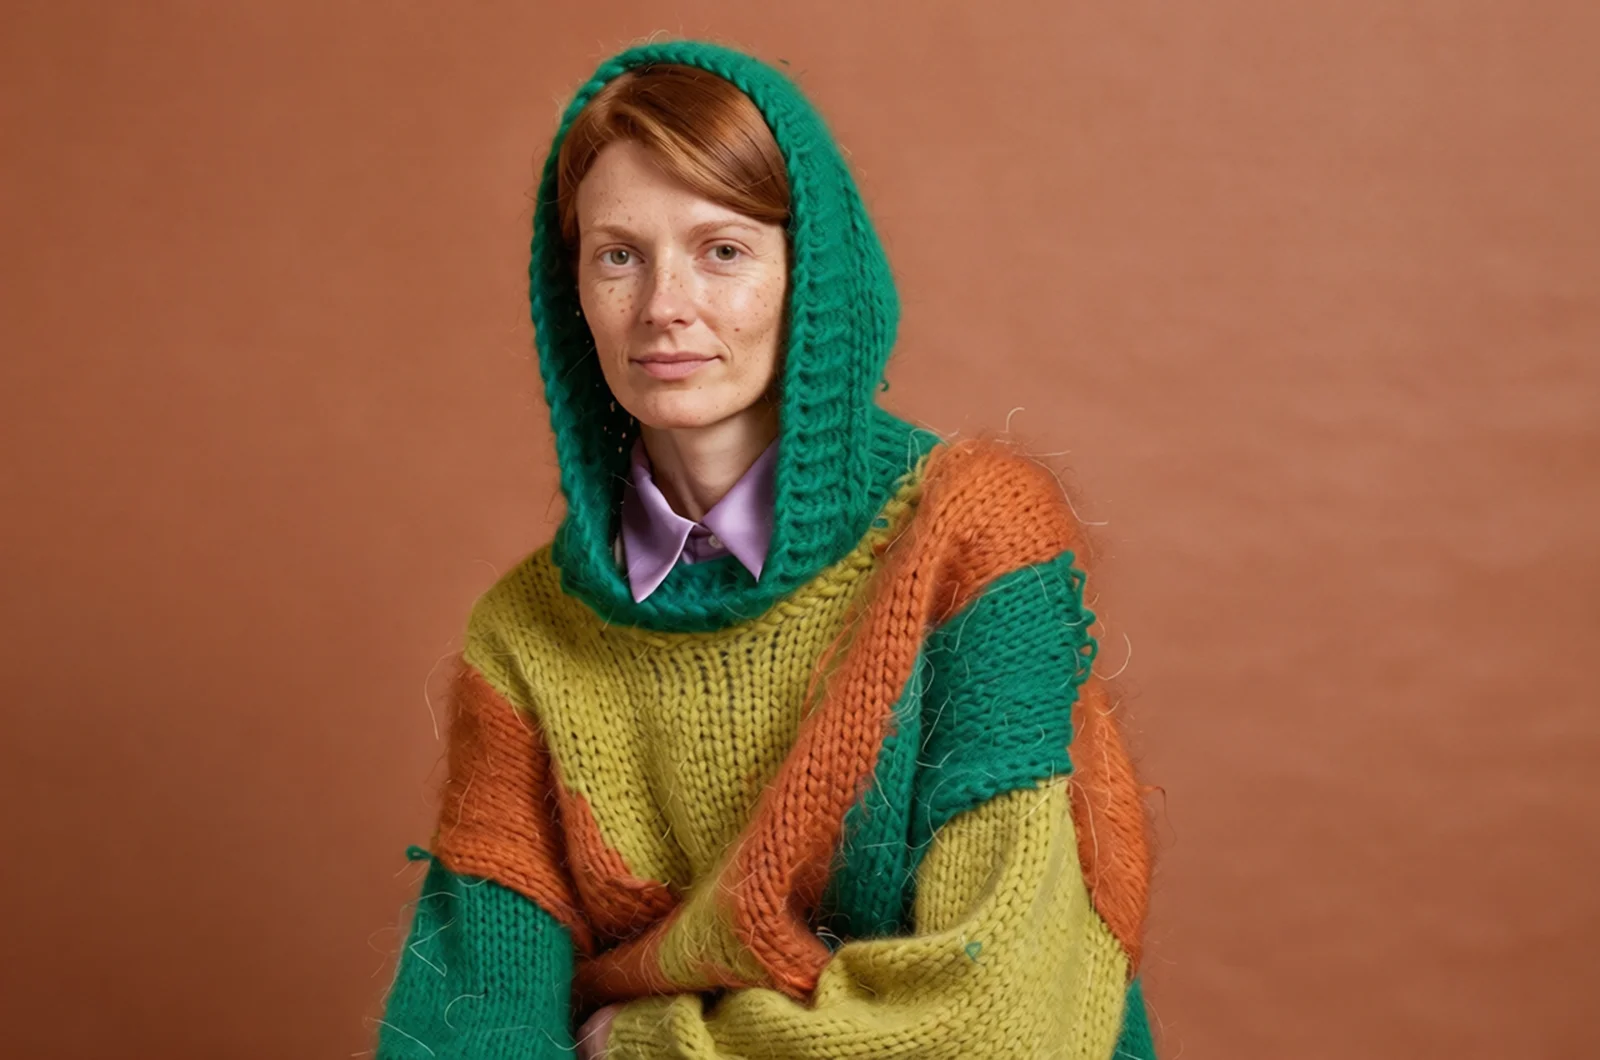
Use a primary portrait with a clear subject and a pose that already works for your layout. An additional reference can help explain clothing, hairstyle, or a visual treatment, while your prompt separates the desired change from the face, posture, and background you want to keep. When several people appear in the primary image, identify the intended person by their visible position and clothing instead of relying on an ambiguous pronoun. Ask for a focused revision rather than a complete reinterpretation of every person. Check facial details, hands, garment edges, and interactions between subjects after generation, especially when the reference uses a very different angle or lighting setup.
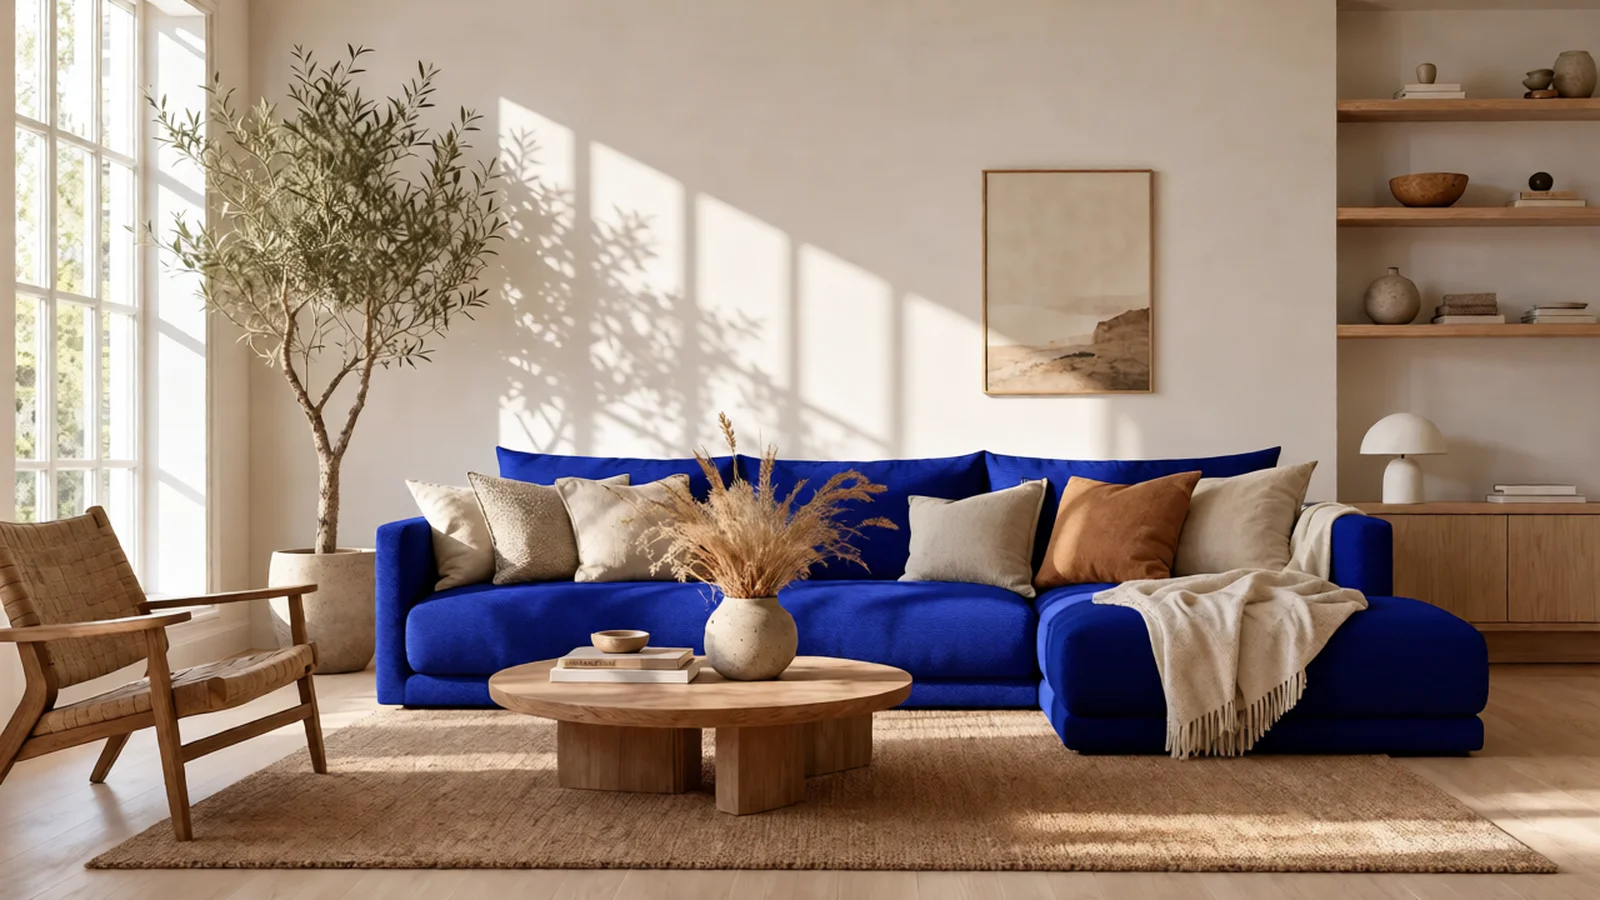
Material studies for interiors and objects
A primary room or object photograph gives the edit a stable visual framework. Bring a reference that clearly shows the material you want to explore, such as woven fabric, brushed metal, painted wood, or stone. Name the exact surface to change and describe which adjacent surfaces should stay as they are. If a second reference supplies another finish, assign it to a different object or area so the instructions do not compete. Keep the requested camera view grounded in the primary image, and review perspective, edge alignment, contact shadows, and surface continuity in the result. These edits can help compare design directions, but they do not replace measurements or material samples.
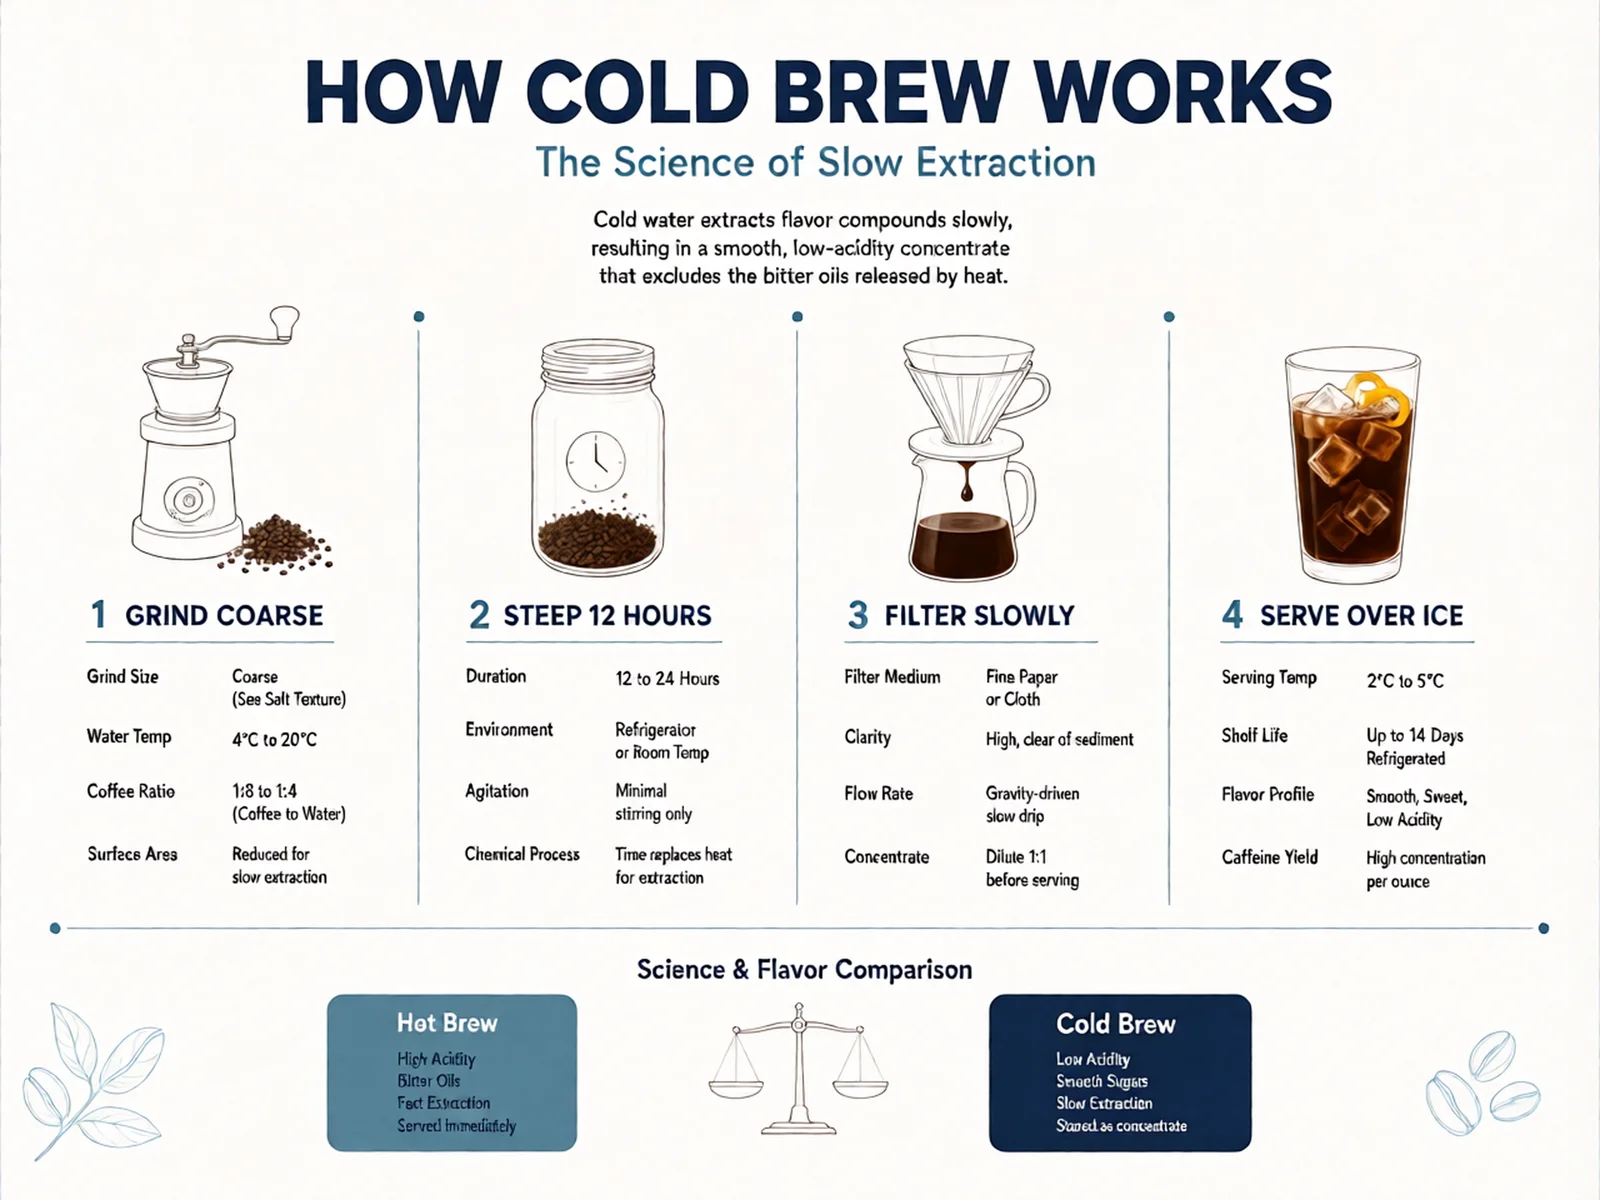
Poster and graphic adjustments
Begin with the layout you want to revise and describe the intended change in terms of the visible design: an accent color, a background treatment, a decorative element, or a headline style. Use reference artwork to communicate appearance, then state which hierarchy and spacing should remain stable. For text edits, include the desired wording clearly in the prompt and identify the relevant text area. Inspect every character, punctuation mark, and line break in the generated image before exporting it for publication. If exact typography is essential, use the result as a visual direction and finish the final text in your design editor rather than assuming that every generated word will be correct.
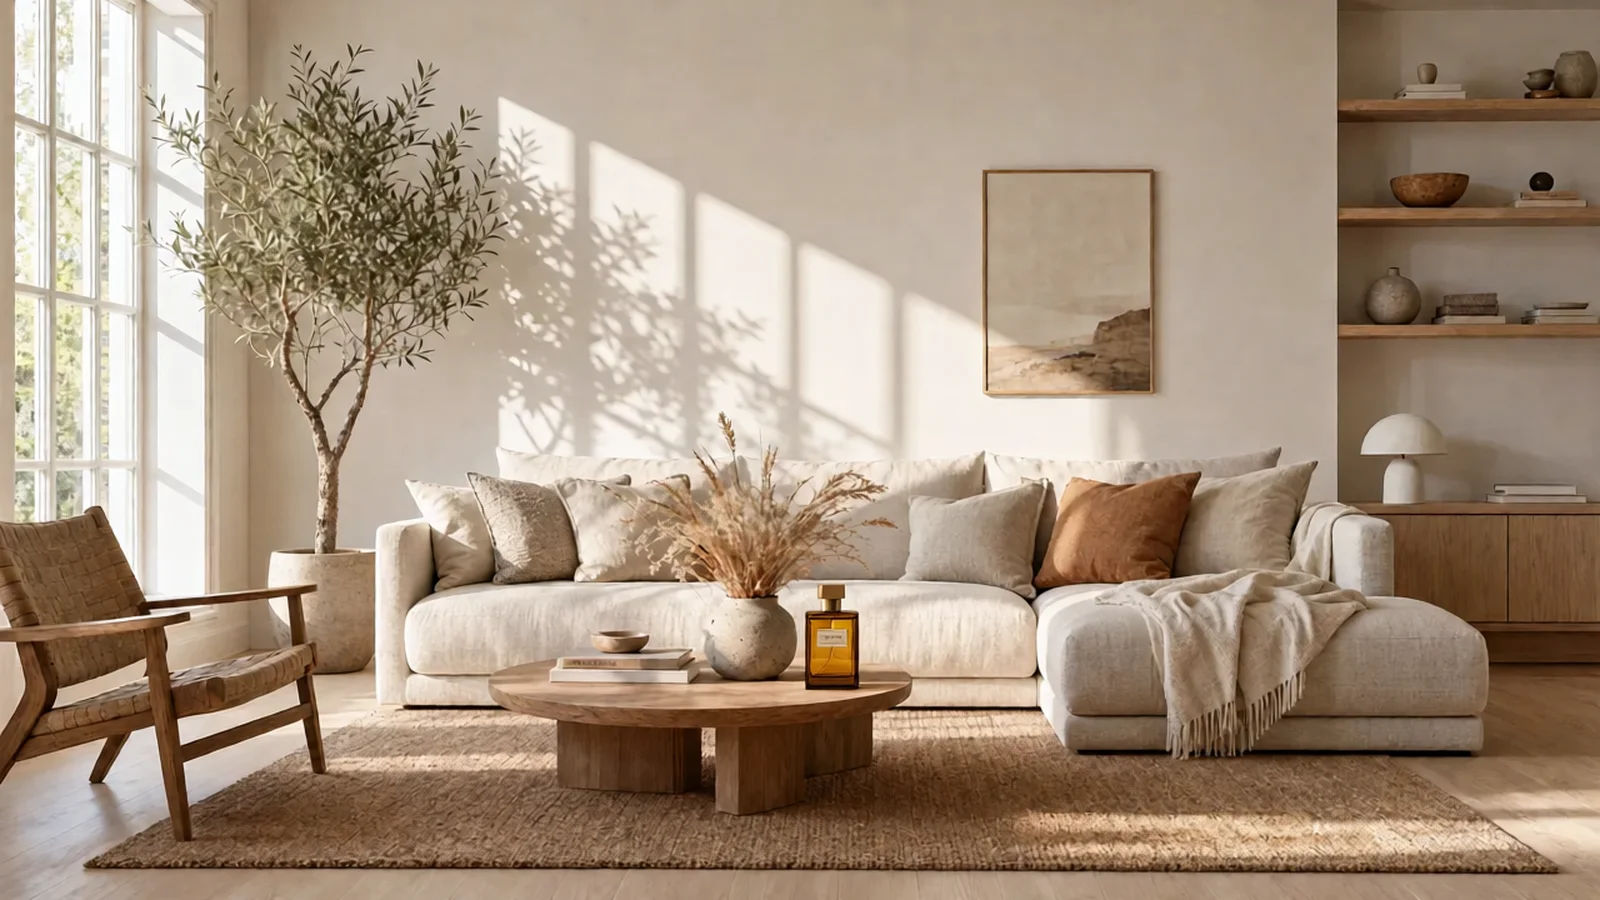
Objects and scenes with complementary references
References can describe different aspects of an edit rather than several alternatives for the same feature. A product photo may supply appearance while another image communicates a setting or visual mood. Put the image whose composition and dimensions you want to retain first, and explain what each later image contributes. Describe placement, relative scale, and the relationship between the subject and its surroundings. Avoid giving contradictory instructions about camera position, background, or lighting across the references. After generation, inspect whether the inserted details fit the scene, whether shadows and reflections agree, and whether any important feature from the primary image was changed unintentionally.
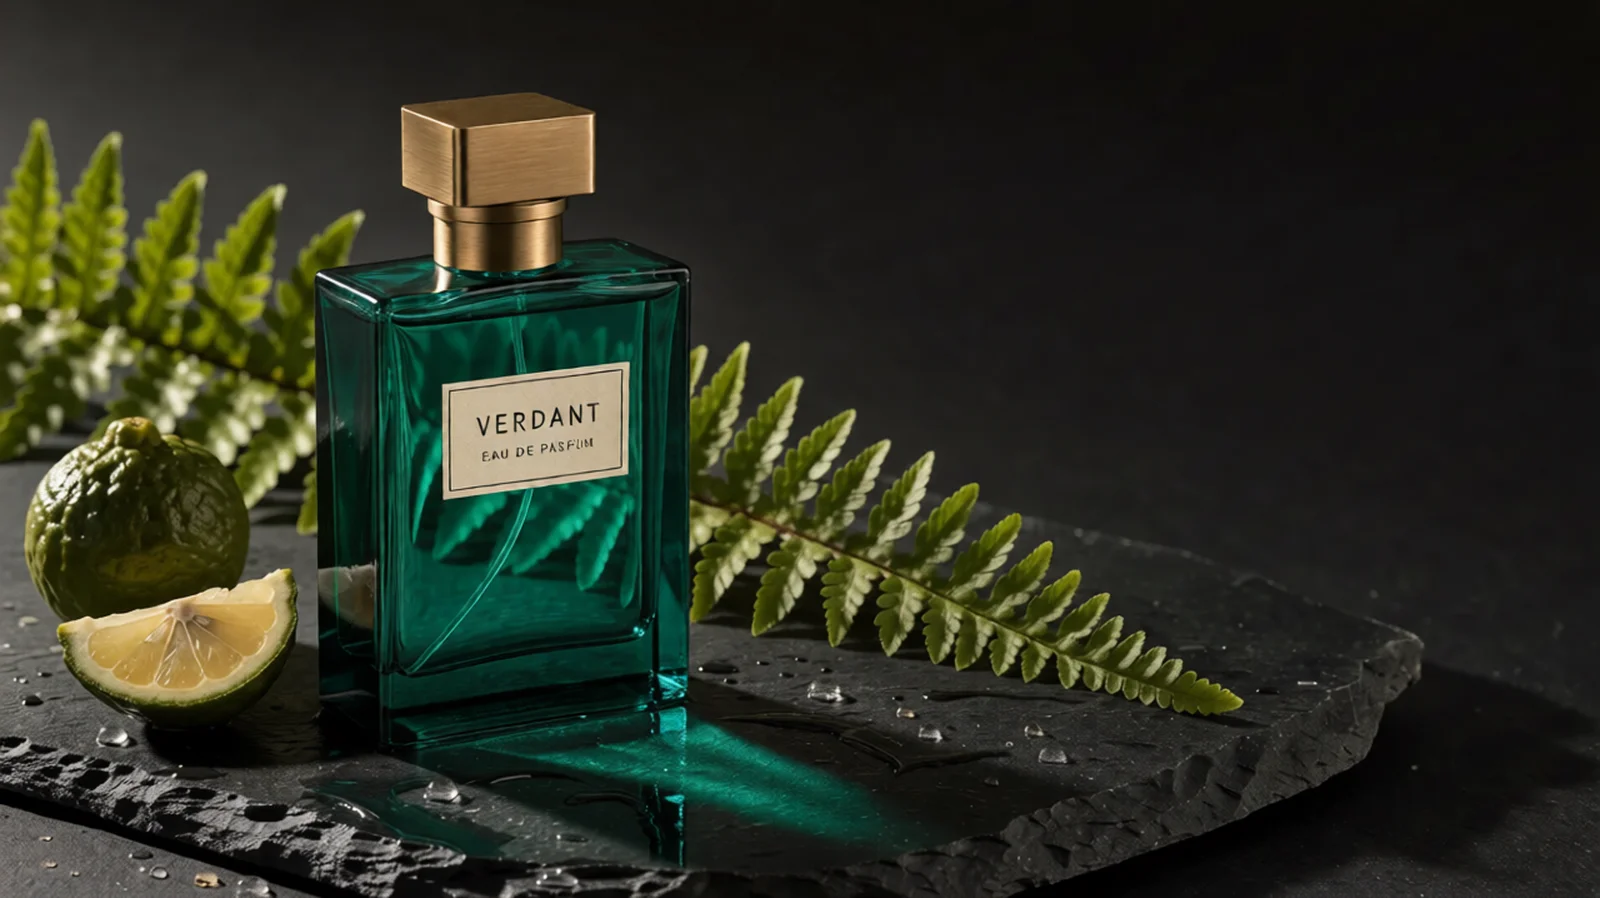
Consistent review across a series of edits
For a collection of related images, begin with a repeatable editing brief. Keep the primary-image preparation consistent and use the same reference set when you want a comparable visual direction. Save the input order, prompt, and seed alongside each result so another person can reproduce the setup for a later revision. Change a single creative decision between trials, such as a material, color, or prompt instruction, and compare the outputs against the original images. A fixed seed helps make comparisons more controlled, but a changed input can still produce a different result. Review the complete series for color balance, subject proportions, background details, and text before treating it as a coherent campaign.
How to edit
Build an ordered, reviewable editing request
Prepare the primary image
Choose the image that should define the final framing and dimensions. Crop or prepare it for your intended delivery before uploading. Check that the subject and the details you want to preserve are visible, and remove unrelated files from the input set. The primary image is the first item in the ordered array; the later images provide optional references rather than replacing that visual starting point.
Add only useful references
Upload references that explain a detail your prompt alone cannot describe precisely. Decide whether each image is supplying appearance, material, clothing, or another visual cue, and mention that role in the instruction. Check the labels and filenames before submitting. More references are not automatically better: a smaller set with clear, compatible roles can make the editing brief easier to understand and the result easier to assess.
Write the change and preservation instructions
Describe the target object or region, the desired change, and the features that should remain stable. Refer to input images by their order when assigning their roles. For example, ask for the fabric color from the next image while preserving the furniture shape and room from the primary image. If an edit changes too much, narrow the request and explain the specific unintended change rather than adding several competing instructions.
Submit and wait for the result
The API returns a task identifier after accepting an asynchronous request. Poll its status until the task succeeds or fails, then parse resultJson to obtain the result URLs. Keep the original task identifier when checking progress instead of submitting the same edit repeatedly. The [task polling example](/docs/models/image/qwen-image-edit-lora#poll-for-result) shows the response structure used by this model. Polling intervals are workflow guidance, not a guarantee that a result will finish within a fixed time.
Compare, revise, and keep a record
Compare the output with the primary image and every relevant reference at a useful viewing size. Look for changes outside the requested area, mismatched material boundaries, altered faces or product shapes, and unreadable text. Save successful inputs and settings before trying another direction. When revising, make the next instruction specific enough to judge: preserve the earlier framing, adjust a named detail, or restore a feature that changed unintentionally.
Planning an edit
Input roles, pricing, and result checks
Before generating
01
Keep the primary image first. Changing the input order changes the visual starting point, so check the files again after replacing an image or editing the request JSON.
02
The published controls do not include a mask, a custom output-size selector, or a custom LoRA upload. Describe the edit in the prompt and choose the primary image to establish the output framing.
03
Each additional reference adds 3 Credits per generated image to the 48 Credits base price. Review the billing rules when estimating a larger batch, and check the live quote before starting a task.
Frequently Asked Questions
The primary image controls the output composition and dimensions. Prepare that image for your intended framing before submitting the edit. A reference can guide details or appearance, but adding it does not turn it into the primary image.
The 48 Credits base price per generated image includes the primary input. Each additional reference adds 3 Credits. The pricing table shows the total for each permitted input count; an optional seed does not add a surcharge.
This endpoint uses image-to-image editing and requires a primary image together with an editing prompt. If you want to create a new composition from text alone, choose a model with a text-to-image workflow instead.
The published APIXO request fields are mode, prompt, image_urls, and an optional seed. They do not expose a custom LoRA upload or a mask control. Describe the change and the details to preserve in the editing instruction.
A fixed non-negative seed is useful for more comparable experiments with the same prompt and inputs. Keep the image order and request settings unchanged as well. It is a control for reviewing revisions, not a promise that every execution or changed input will produce an identical image.
Check the requested change and the areas meant to remain untouched. Inspect product geometry, faces, hands, shadows, reflection boundaries, and every important word or label. Revise the prompt when a specific detail is wrong, and finish exact text or layout work in your editor when necessary.
Explore Other Models
Discover more AI models for your next creative workflow
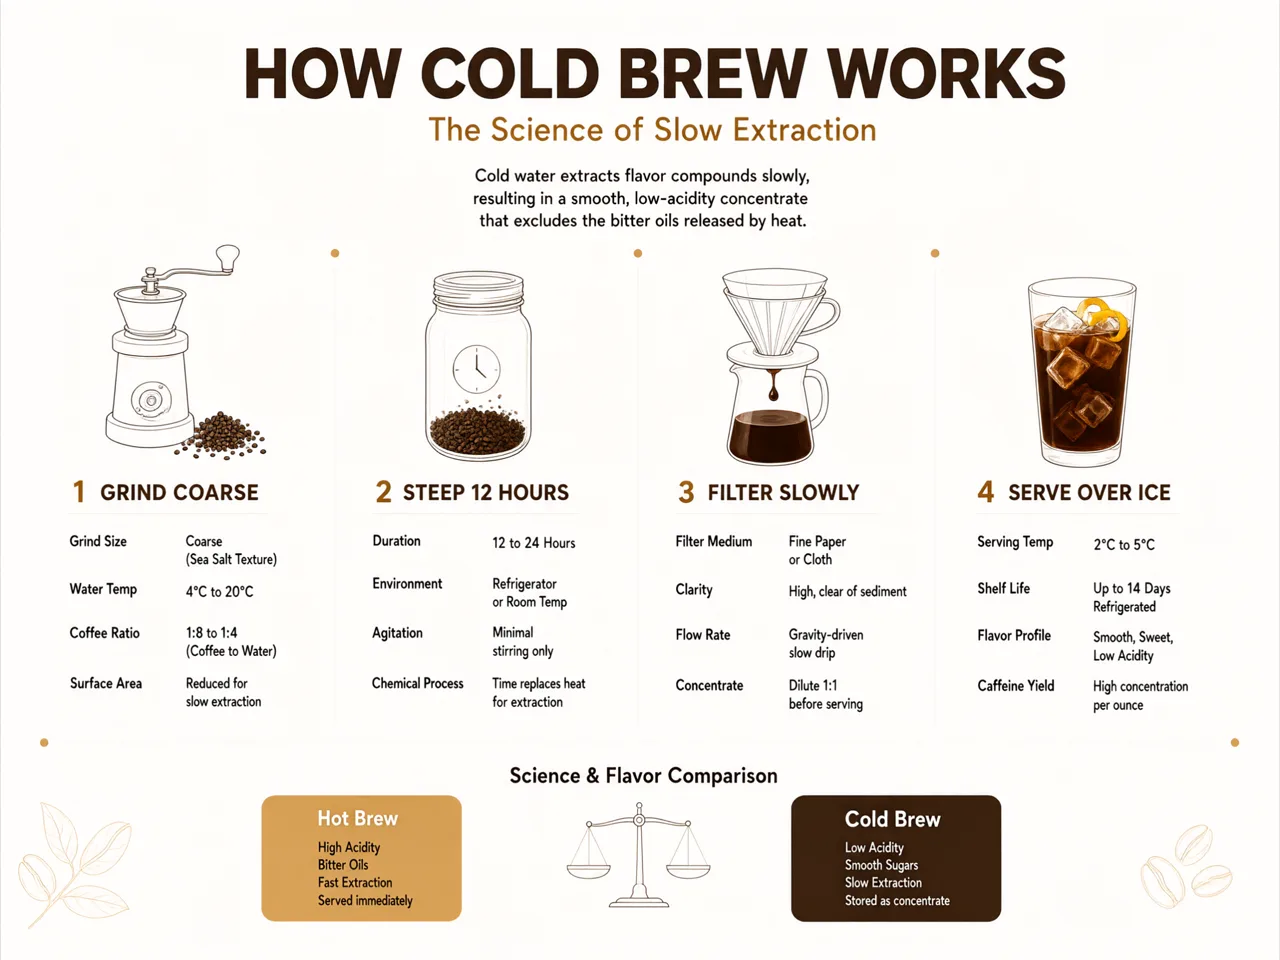
Alibaba


Qwen Image 3.0
Qwen Image 3.0 is available on APIXO for Image. The model page brings examples, creation controls, pricing, and results into one focused workspace.
ImageNew
30 Credits/pic Image
Image
Alibaba

Qwen Image 3.0 Pro
Qwen Image 3.0 Pro is available on APIXO for Image. The model page brings examples, creation controls, pricing, and results into one focused workspace.
ImageNew
40 Credits/pic
Black Forest Labs

Flux Kontext
Flux Kontext is available on APIXO for Image. The model page brings examples, creation controls, pricing, and results into one focused workspace.
Image
40 Credits/pic
Google

Nano Banana 2.1
Nano Banana 2.1 is available on APIXO for Image. The model page brings examples, creation controls, pricing, and results into one focused workspace.
ImageNew
40 Credits/pic