
Guides
Same character, new outfit: use references for anime clothing edits
Plan an anime outfit change with separate character and clothing references. Explore ギア’s gallery, an editable prompt, identity checks and the original post.
Ethan Wang
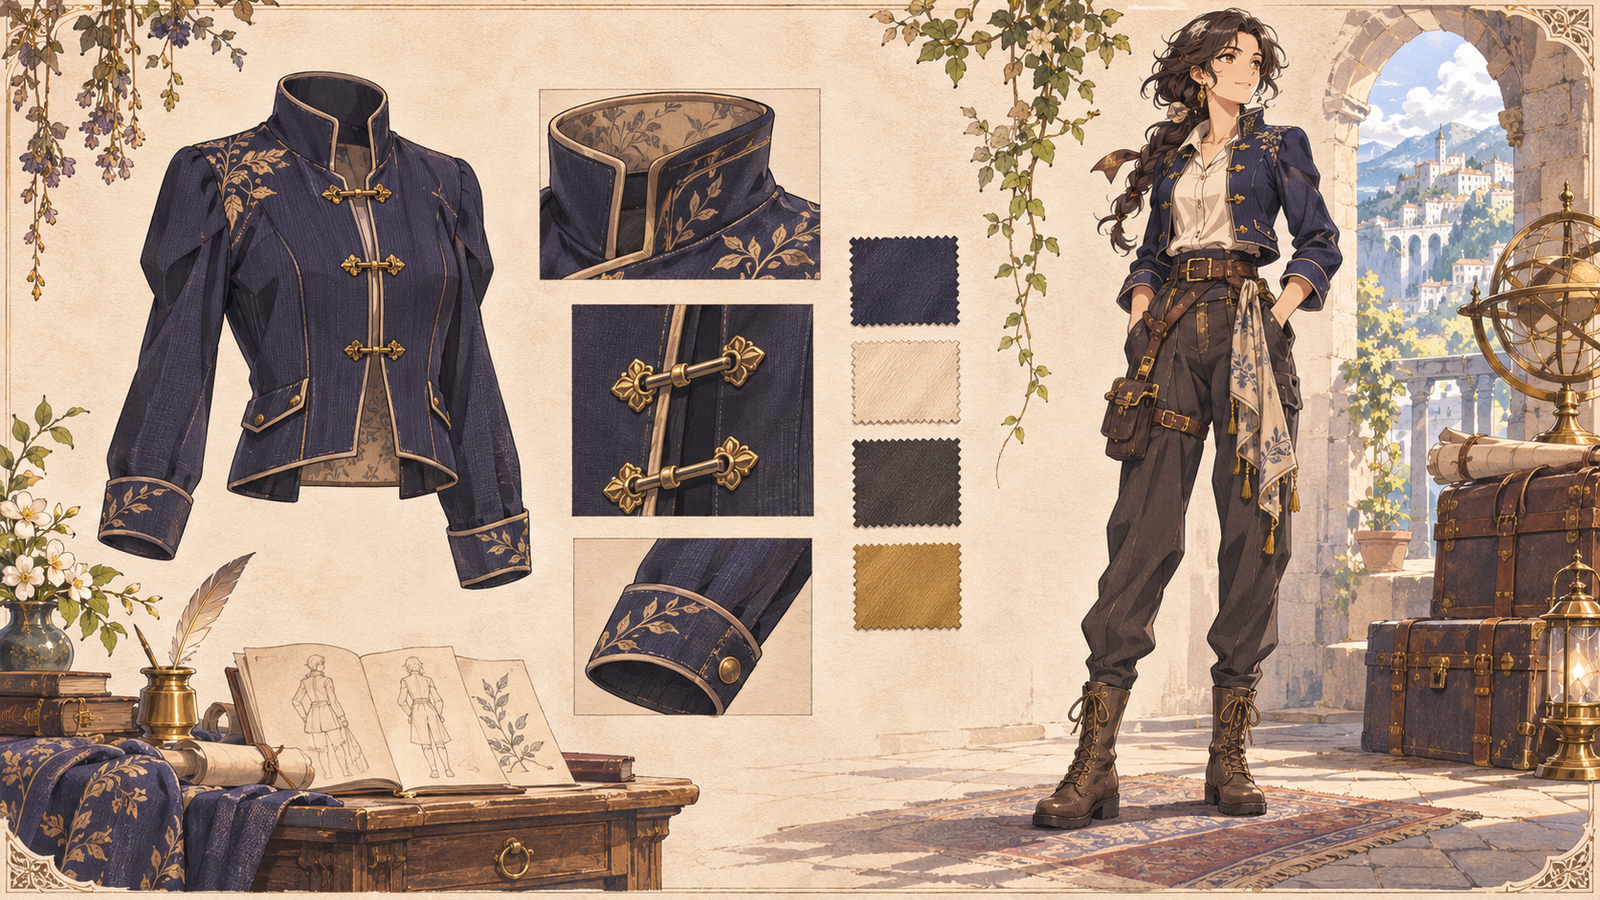
You have the face, hairstyle and drawing style you want. Now the character needs a different outfit. “Make it more elaborate” leaves the collar, sleeves and silhouette open to interpretation. An outfit reference makes those design choices visible; a character image specifies what should stay. Follow an adult original character’s travel outfit from reference selection to an editing brief and review checklist.
Creator and project links
Original resource: COSTUME-ANIME-DB, published by ギア (@giaaibusi). See the creator's announcement.
Original AI-generated editorial illustration, not a gallery asset by ギア or a tested APIXO model result.
See how the creator presents this collection
Start with Gia's original announcement, then adapt the references to your own project.
ギア · @giaaibusi
https://x.com/giaaibusi/status/2117090562595828148If the post does not load, open it on X.
Separate the character to keep from the outfit to change
Suppose a long robe should become a short travel jacket. Keep a list for face, hair, proportions, pose and drawing style; use a second list for jacket length, sleeves, colors and decoration. Start with one outfit instead of mixing incompatible collars and silhouettes from three references. ギア’s anime gallery provides concrete design material, not an already completed clothing edit.
Choose silhouette, then color, then detail
Start by viewing a candidate small. Look at shoulder width, sleeve volume, length and the shape of the hem. Which feature should remain recognizable at that size? Next choose the main color and accent color. Leave collars, fastenings and embroidery until the larger decisions are clear.
Character image plus outfit image: an editable prompt
Image 1 shows an adult original anime character. Use image 2 only for the travel outfit design. Replace the robe in image 1 with the short jacket in image 2, following its collar, sleeves and colors. Keep image 1’s face, hairstyle, proportions, pose, drawing style and background. Do not copy the person or camera angle from image 2.
The clothes changed, but so did the character?
Check jacket length, cuffs, front closure and decoration first. Then compare the eyes, hair, proportions and line style. If only a detail is missing, revise that detail; if identity or style drifted, return to the original character image and check whether the outfit reference adds unwanted identity cues.
Build a scene wardrobe for the same character
Create a reusable character master image, then select everyday and travel outfits from the anime gallery. Make both edits from that same master, keeping the face, hairstyle, proportions and drawing style fixed. This avoids carrying a facial change from one outfit edit into the next. Compare collars, sleeves, main colors and signature accessories; record the reference IDs once you choose. The two looks can support a comic's scene change, character portraits or chapter covers without redesigning the character in every image.
Turn the chosen outfit into an anchor for an animated shot
First finish a full character image with the hands, hem and moving parts clearly visible. Use that image as video input. A small starting brief is: “The character stands at a station, turns their head slightly, and the jacket hem moves in the breeze as the camera slowly pushes in.” Begin with one action. Watch for shifting fasteners, a cape passing through an arm or changing colors; fix a missing cuff in the still before animating. Character entrances, teasers and seasonal opening shots are further directions, with each shot tied to a recorded outfit design.
Video models: Kling 2.6 · Seedance 2.5
Where to take the idea next
To combine clothing, poses and spatial layout, continue with the multi-gallery workflow from character references to video storyboards.
Before you begin
These scenes and instructions are creative plans, not APIXO generation tests. Use your own adult fictional character and select individual references under the original gallery's terms; do not bulk-download or redistribute gallery images. Check the selected model's input mode and current cost.
Official sites and sources
Finish one character image first, then choose the video input mode.
Build with APIXO
Explore image, video, and audio models in one place.