@apixo/mcp-server package and connecting it to your AI coding tool on Windows, macOS, or Linux. The instructions below cover Cursor, Claude Code, and Codex CLI in detail, plus a generic config that works for any other MCP client.
Prerequisites
- Node.js
>= 20and npm>= 9(the server runs vianpx) - An APIXO API key from Dashboard -> API Keys
- One MCP-compatible client, for example:
- Cursor
- Claude Code
- Codex CLI
- Claude Desktop, Windsurf, Cline, Continue, Zed, or any other client that supports stdio MCP servers
The server is published to npm as
@apixo/mcp-server. npx -y @apixo/mcp-server always pulls the latest release, so you do not need to reinstall when we update it.Step 1: Set your API key
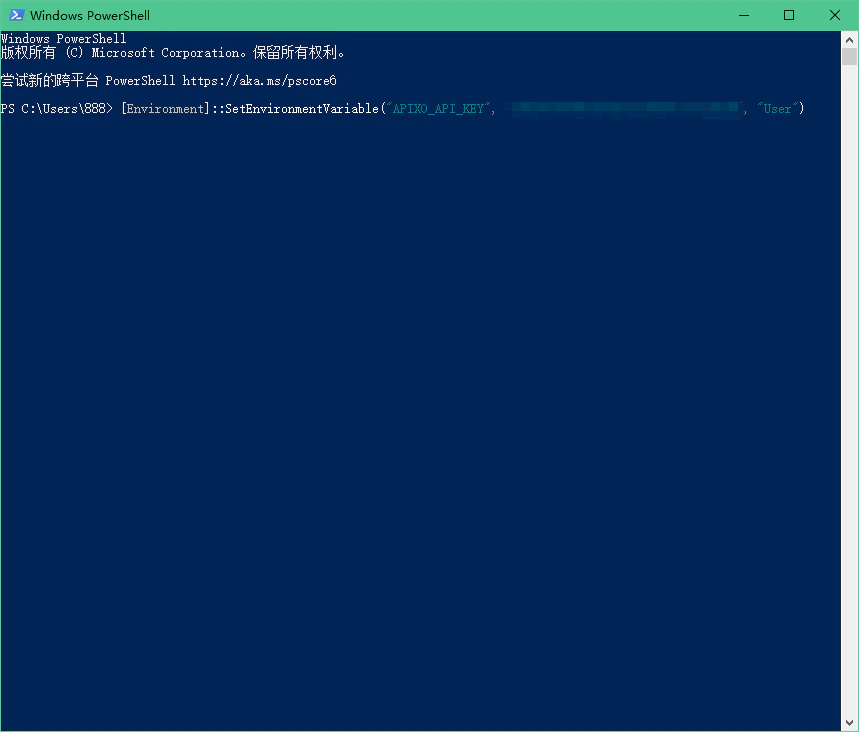
ExportAPIXO_API_KEY as a persistent environment variable so the MCP server can pick it up on every launch.
- Windows (PowerShell)
- macOS (zsh)
- Linux (bash)
Step 2: Register the MCP server
- Cursor
- Claude Code
- Codex CLI
- Other MCP clients
Open or create The
~/.cursor/mcp.json (Windows: %USERPROFILE%\.cursor\mcp.json) and add an entry under mcpServers:env.APIXO_API_KEY field is optional if you already set the variable in Step 1, but adding it here makes the config self-contained.Then open Cursor’s MCP settings panel and confirm that apixo is listed and reports a healthy status.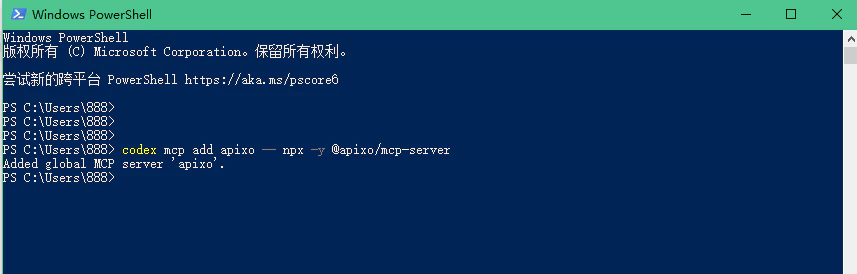
Step 3: Verify the registration
A healthy install exposes five tools under theapixo server:
apixo_list_modelsapixo_get_model_schemaapixo_generate_taskapixo_get_task_statusapixo_get_balance
- Cursor
- Claude Code
- Codex CLI
- Other MCP clients
Reload Cursor (or restart it) and open the MCP / Tools panel. The
apixo server should report a healthy status and list the five tools above.
Step 4: Try it from your agent
Fully restart your client (Cursor, Claude Code, Codex, or whichever one you set up) so the MCP server is launched, then run the prompts below. Each one constrains the agent to theapixo tools so you can confirm wiring without other tools interfering.
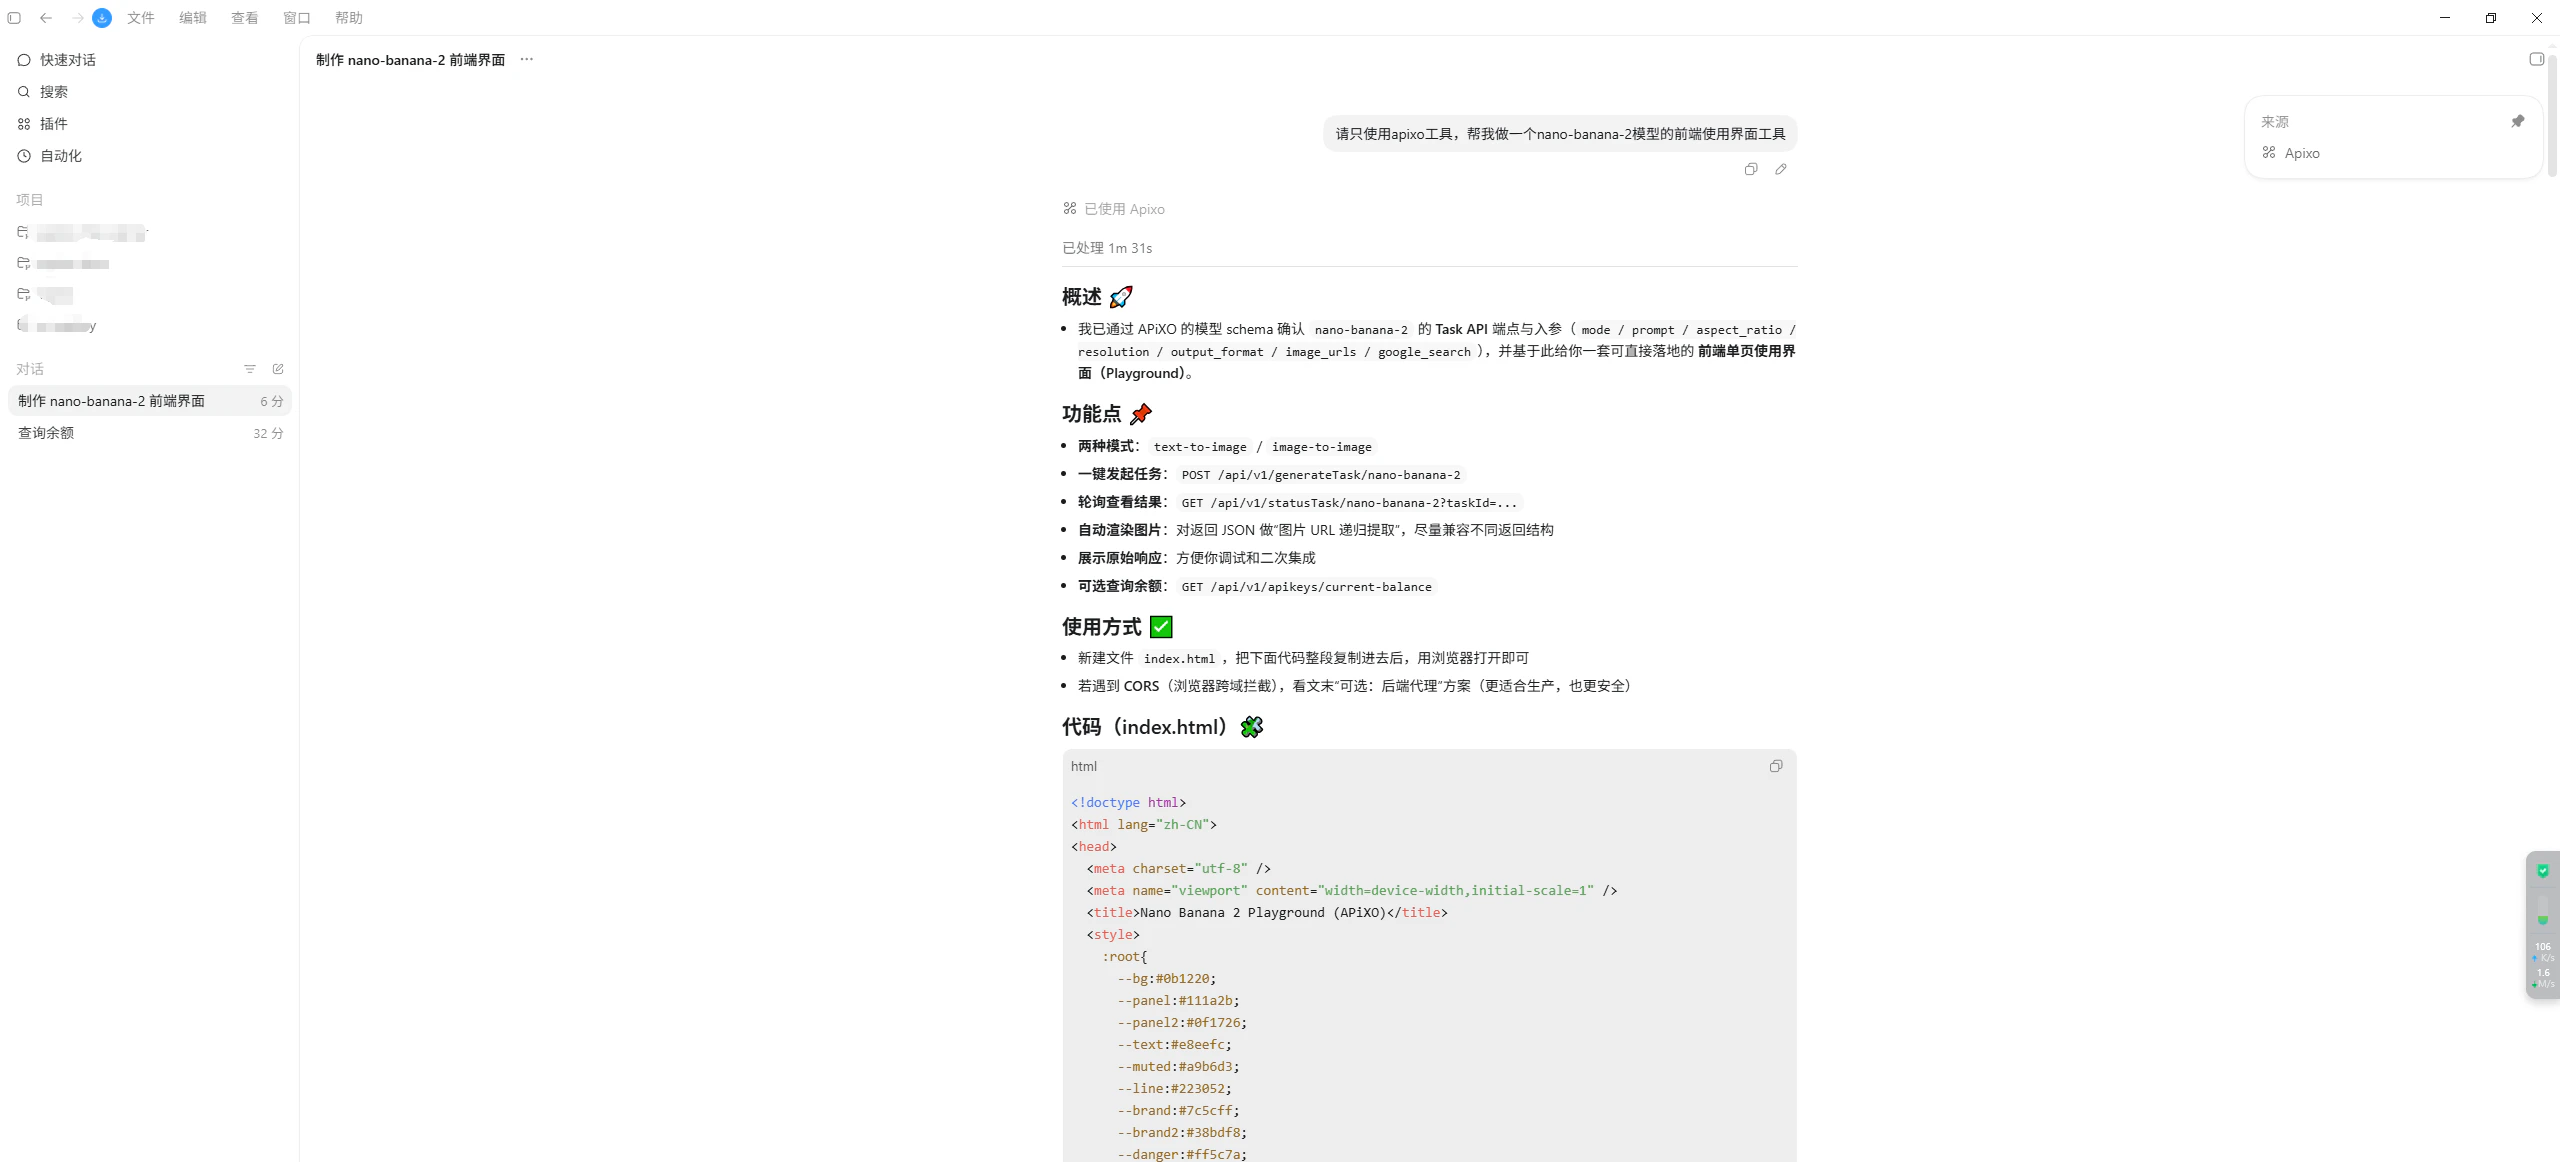
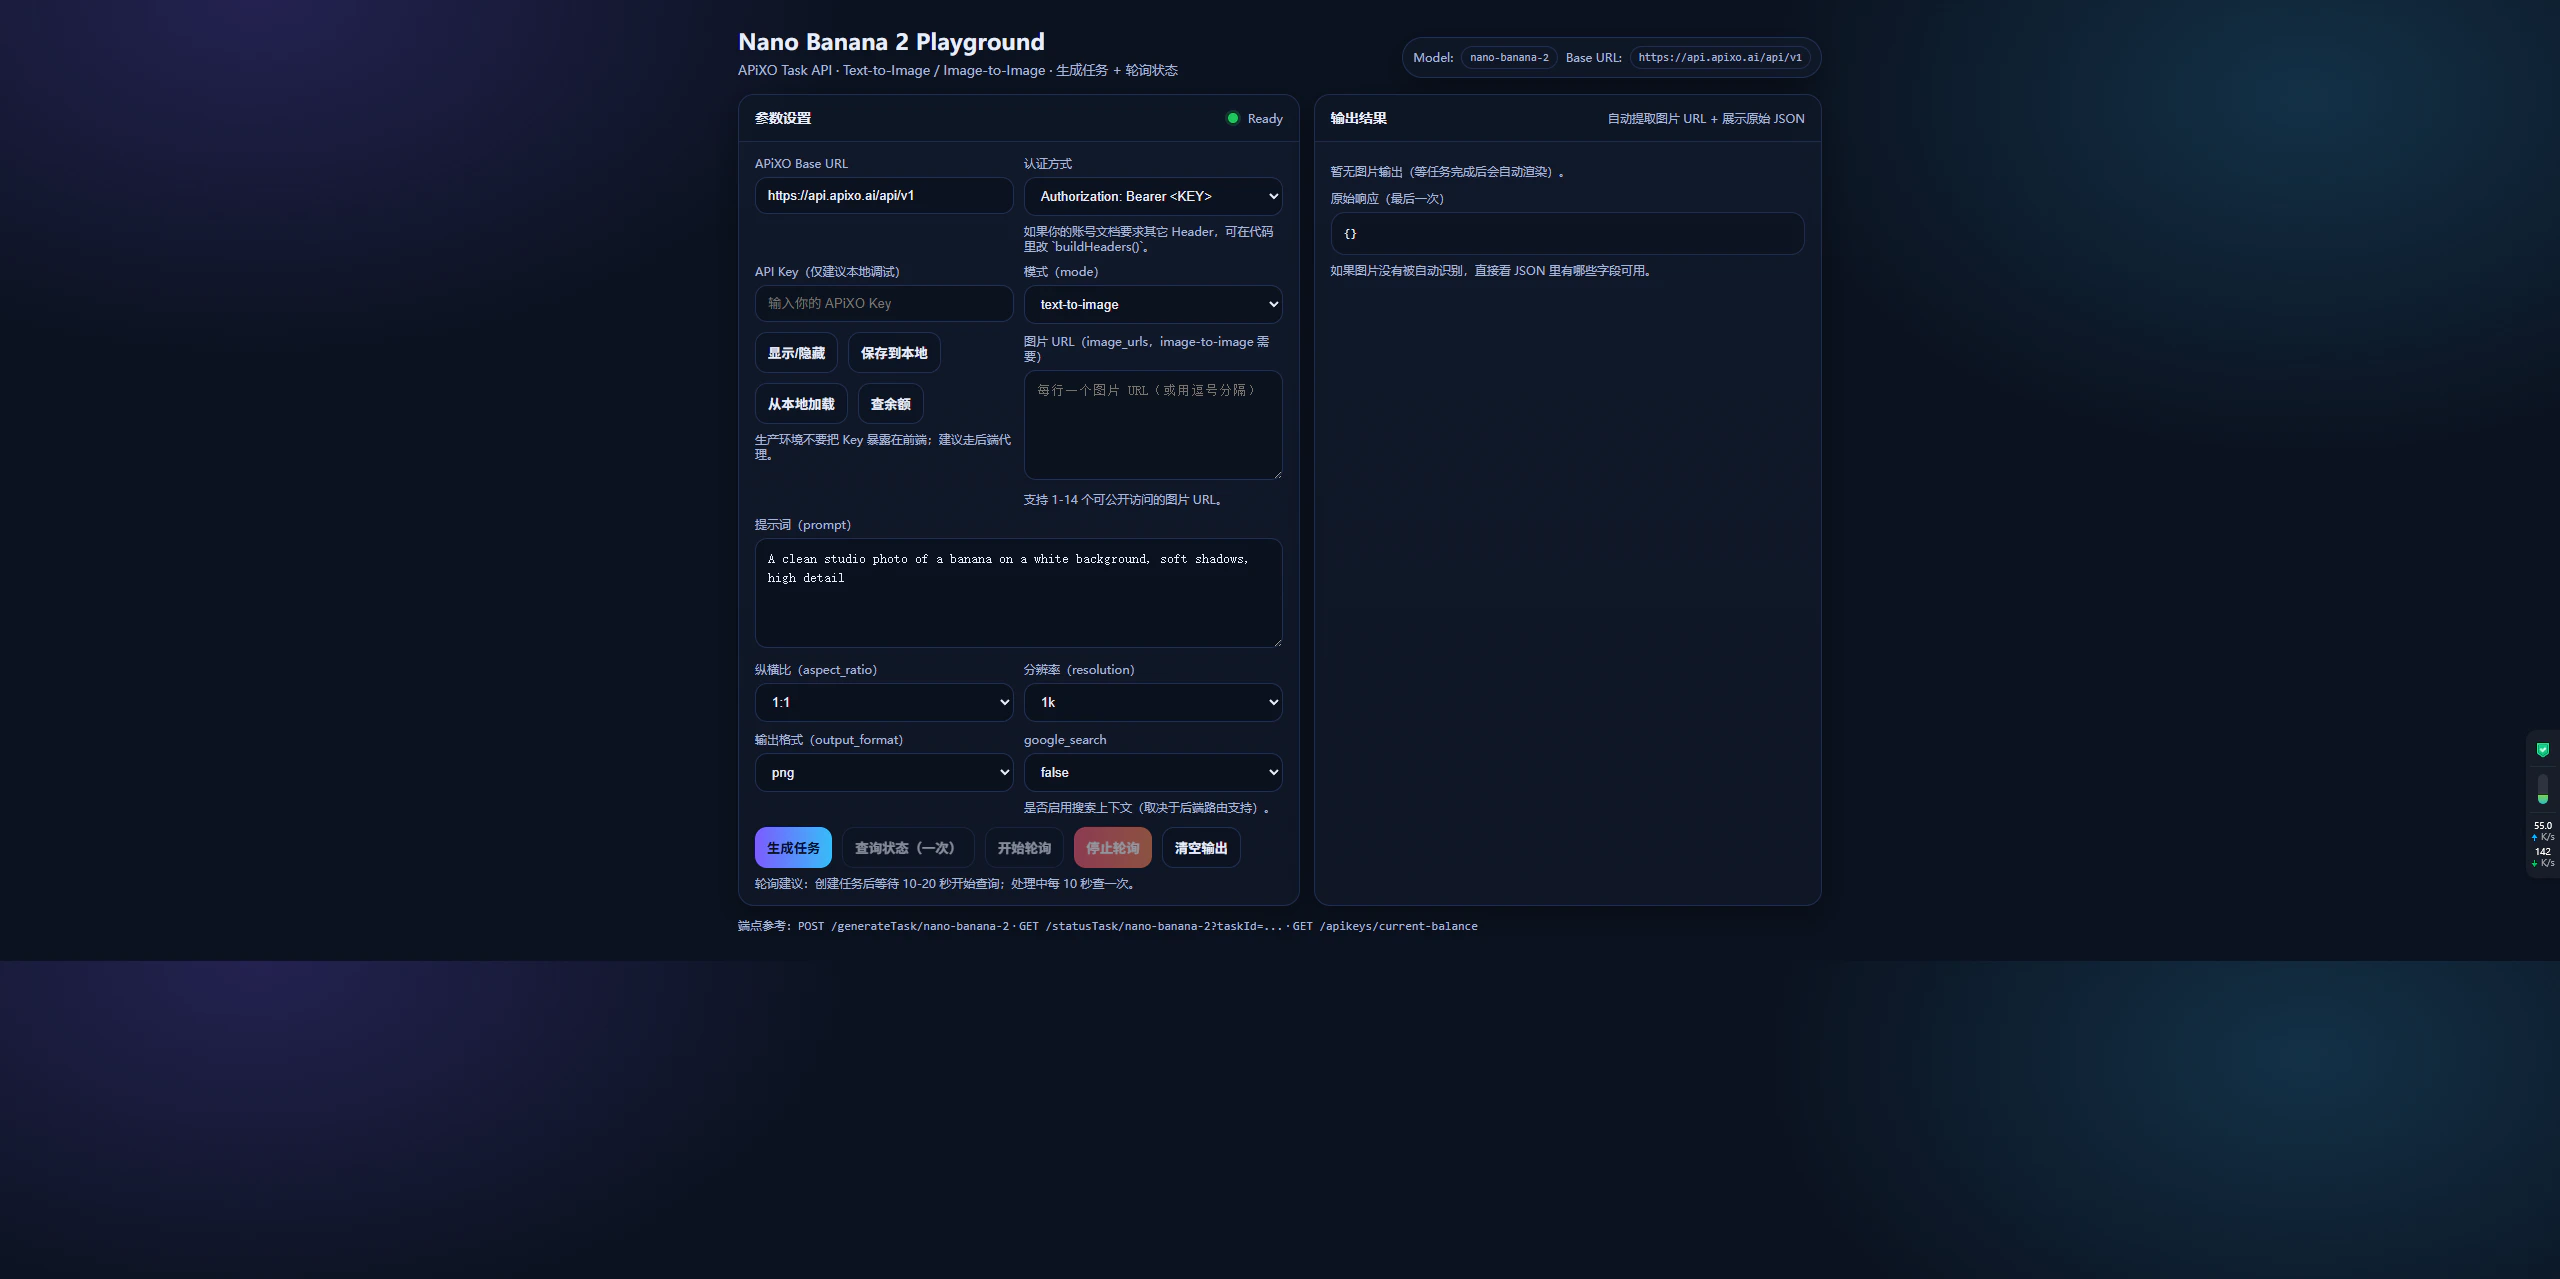
Test 1: Scaffold integration code (recommended)
This is the primary use case — let the agent write APIXO calls into a small project.apixo_list_models and apixo_get_model_schema to discover nano-banana-2’s parameters, then writes working code against https://api.apixo.ai/api/v1/generateTask/nano-banana-2.
Test 2: Submit a task directly from chat
Useful when you want to sanity-check a model before wiring it into code.apixo_generate_task for nano-banana-2, polls with apixo_get_task_status until the task succeeds, and prints the result URL.
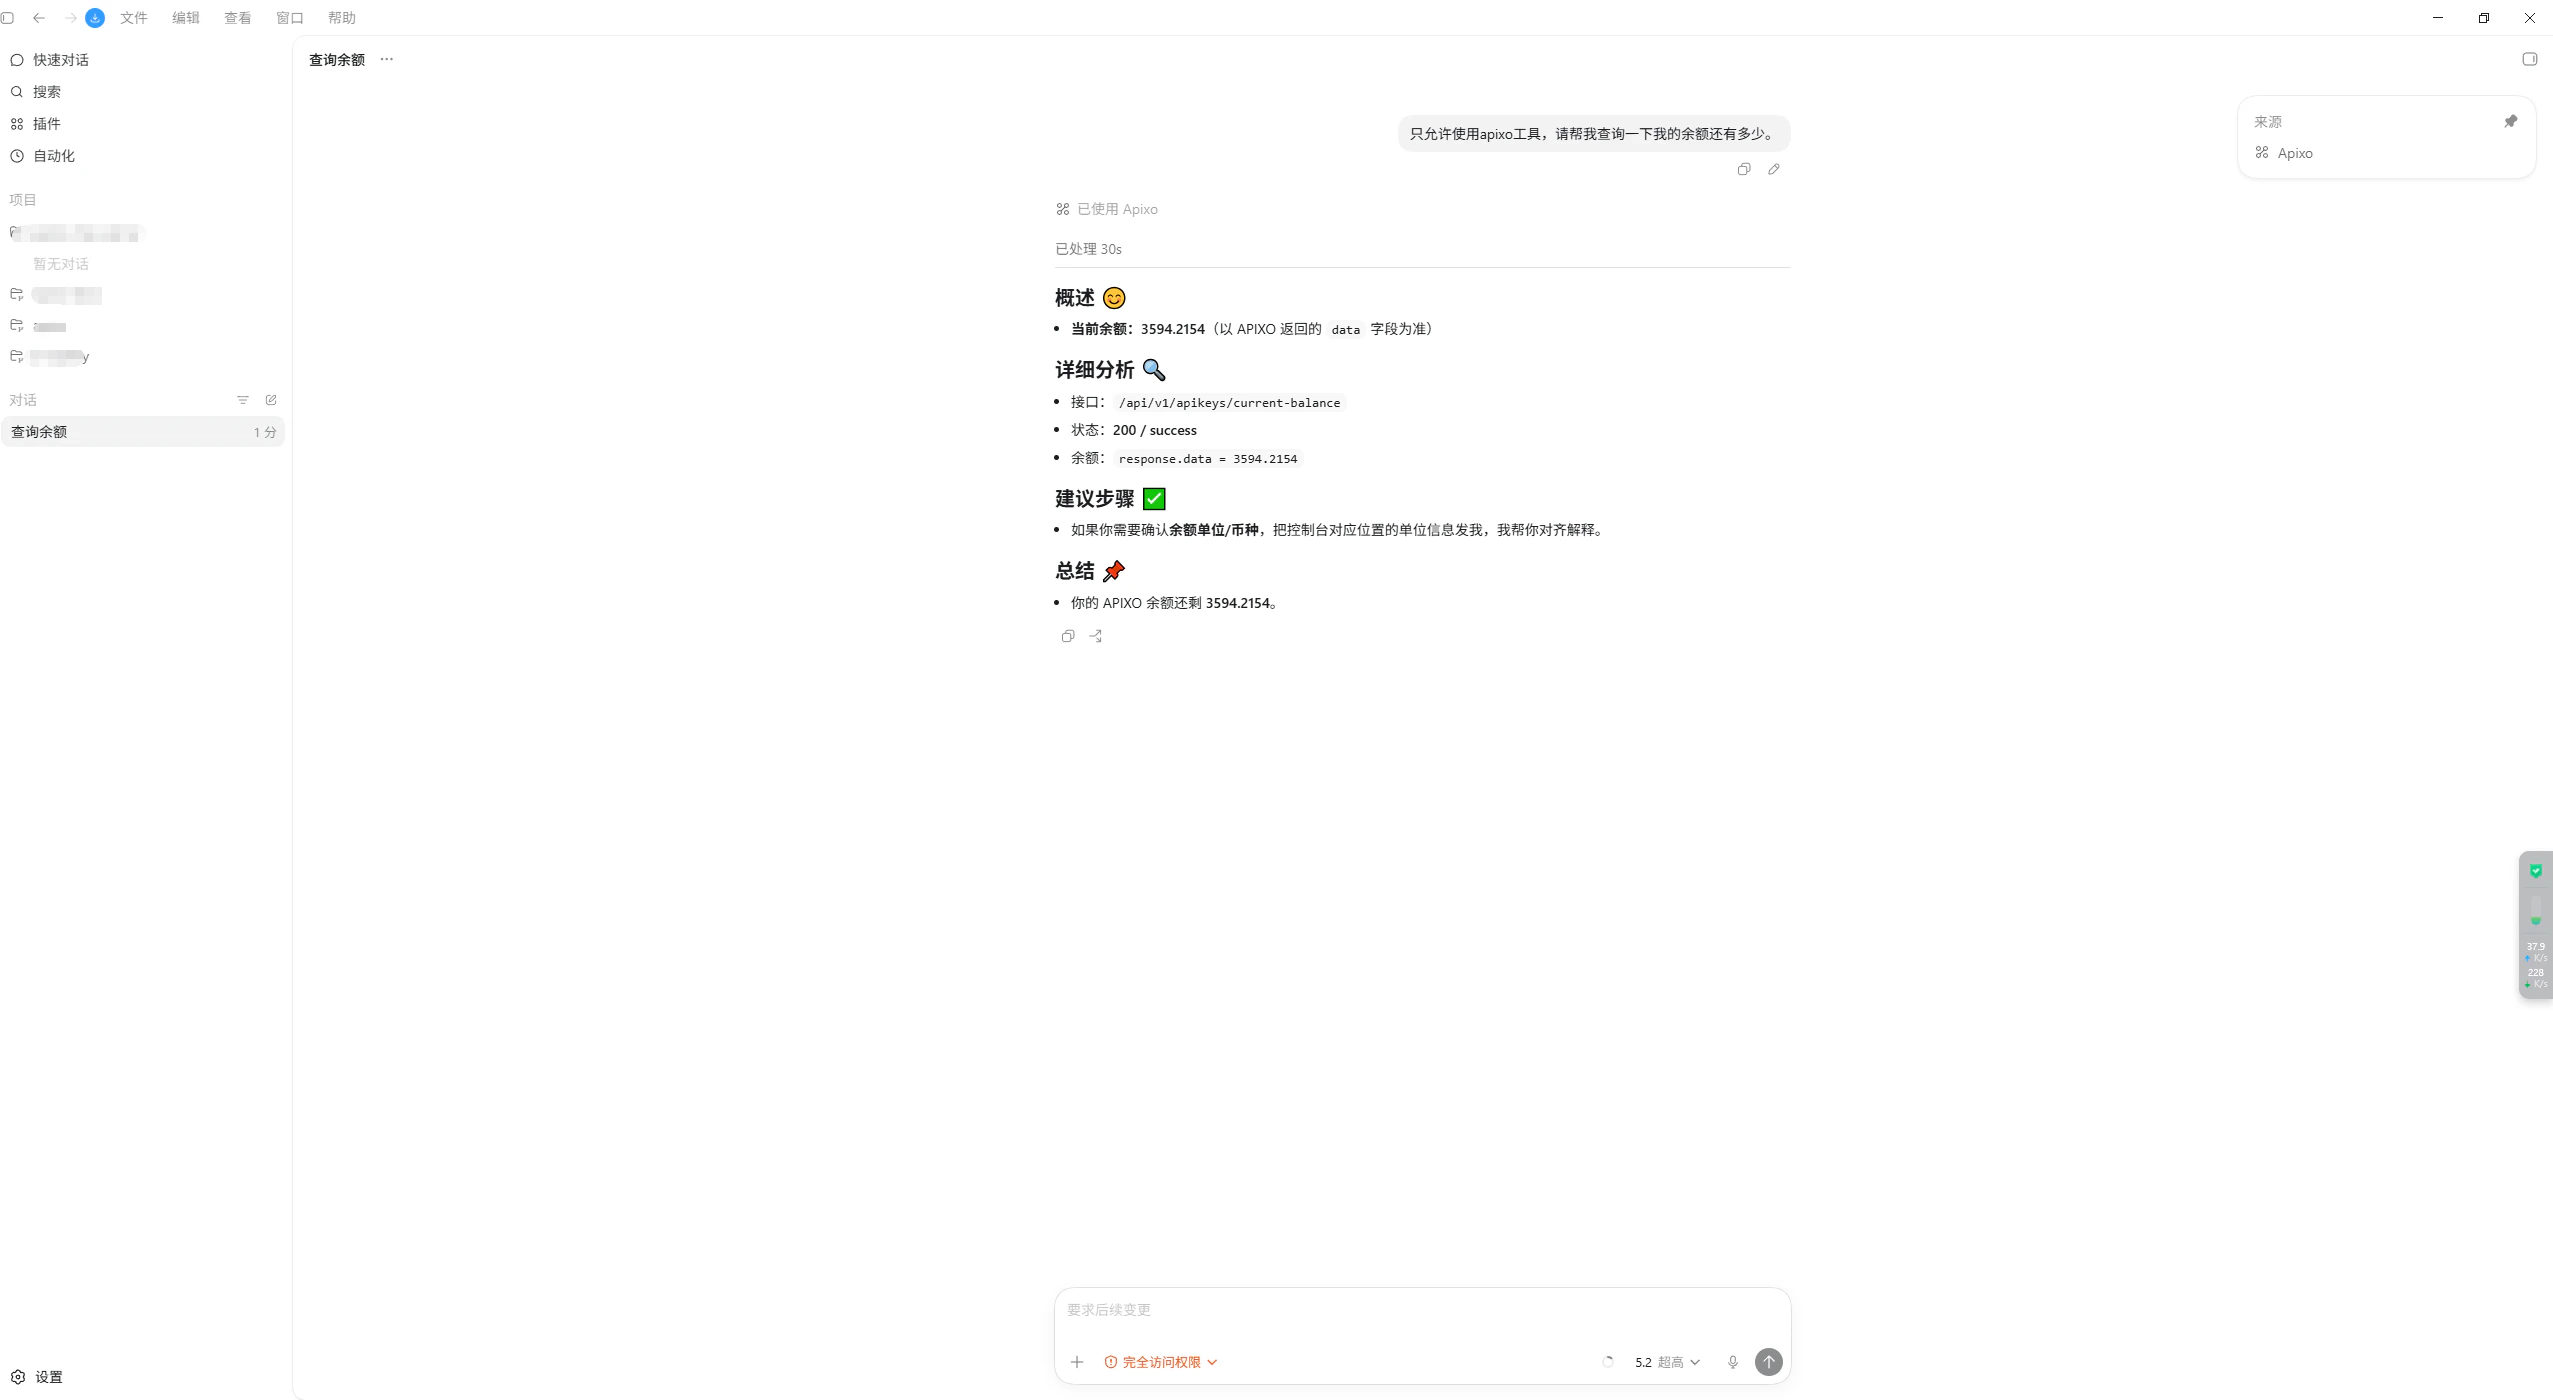
Test 3: Check your account balance
apixo_get_balance and reports a numeric balance.
Next steps
What APIXO MCP can do
Tool reference and capability overview.
Troubleshooting
Fix common install issues across clients and operating systems.
Generation API reference
The endpoint the MCP server submits tasks to.
Browse models
Find the model ID to pass to
apixo_generate_task.